...
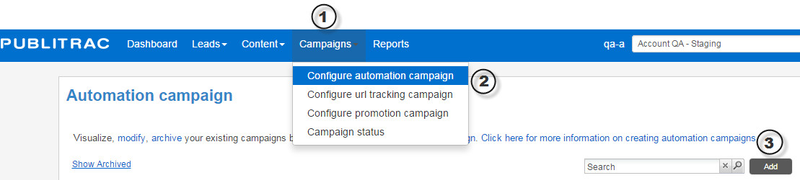
3. Click Add at the top right of the screen.

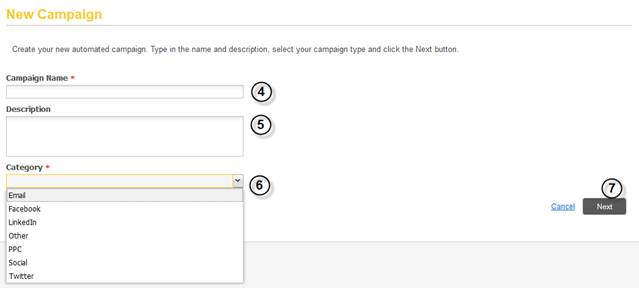
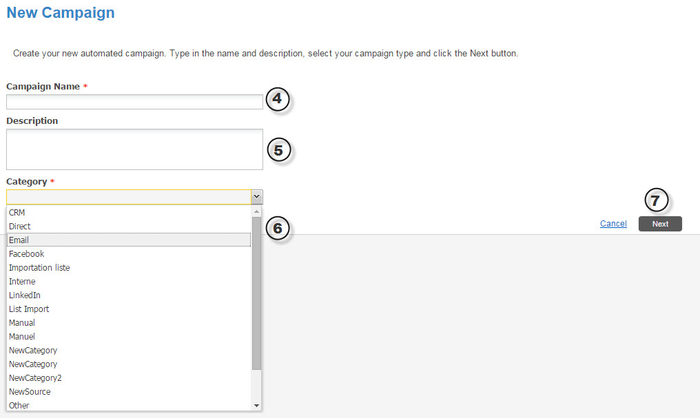
4. Specify the Name of the campaign.
...
6. Select a Category for your campaign.
7. Click Next.
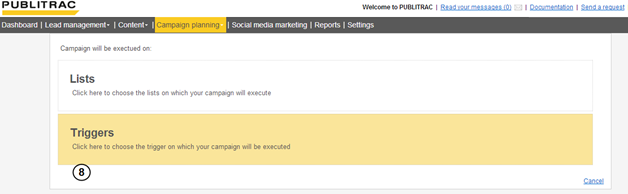
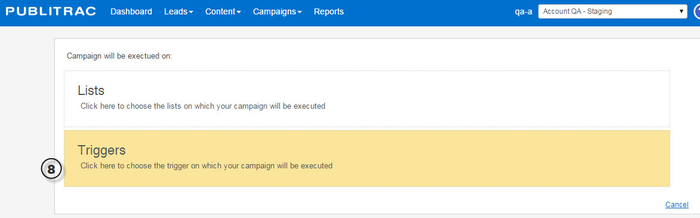
8. Click on Triggers.
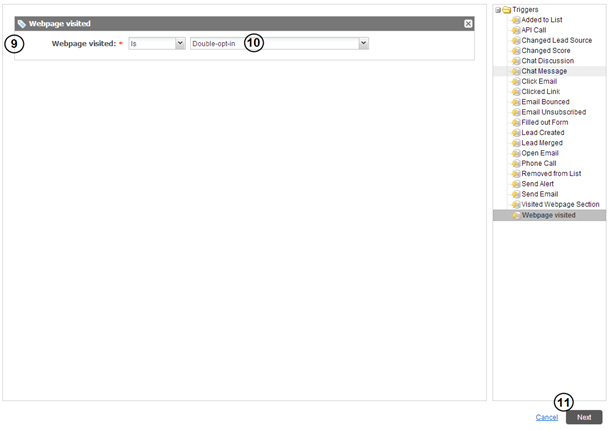
9. Drag and drop Webpage visited from the list of Triggers.
...
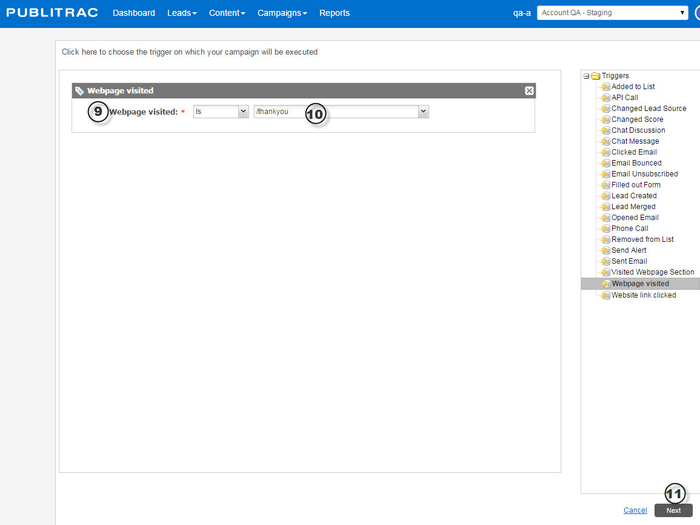
Alternatively, enter the end URL of the dedicated page on your website. Ex: /thank-you for the page www.domain.com/thank-you
11. Click Next.
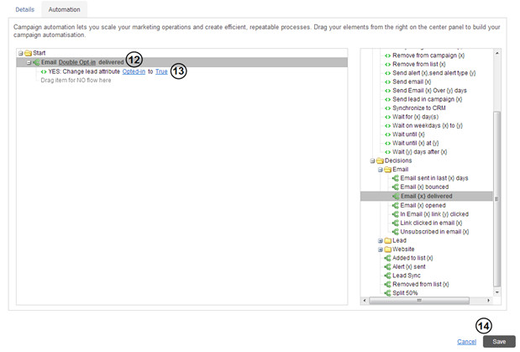
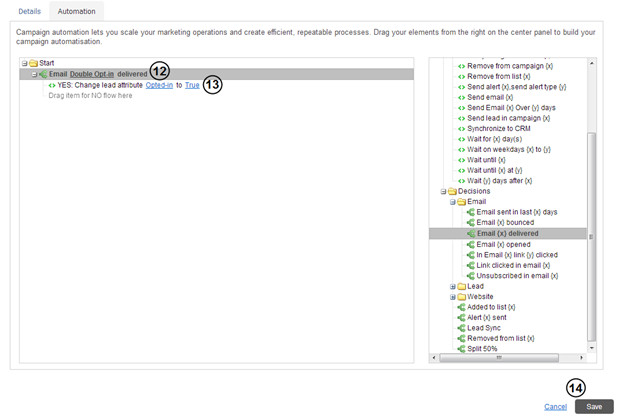
12. From the Automation tab, drag and drop the decision Email {x} delivered in the section to the left, under Start. Select the email created for this purpose.
13. Drag and drop the activity Change lead attribute {x} to {y} in the section to the left, under Email {x} delivered. Select the custom field created for this purpose, and specify the value True.
14. Click Save.
Related articles
...
| Filtrer par étiquette (contenu par étiquette) | ||||||||||||||||||
|---|---|---|---|---|---|---|---|---|---|---|---|---|---|---|---|---|---|---|
|