Configure custom fields
PUBLITRAC allows the creation of up to 30 custom fields in which information specific to your company can be saved. For example, a shoe store owner will want to create a custom field with the value shoe size (this field is not available by default in PUBLITRAC). This custom field will be displayed in the Leads Details page of each lead (under Lead / Leads Customers, on the Leads tab).
Before you create a custom field, make sure that this field actually qualifies your lead and that it will be useful in an eventual segmentation for an automated email campaign. If this is not the case, this information will risk cluttering up your account needlessly and slow down your queries. In addition, if you attempt to create a filtered list based on several custom fields (it is recommended to use only one or two custom fields at a time), it may be that the execution time may be slowed down thus compromising the execution of your query. If you create custom fields for a single event or a single campaign, remember to remove them when you are done.
When you reach 30 custom fields, the following message will appear: with the addition of this next custom field, you have reached the limit of 30 fields. Please contact your account manager to see how to optimize your use of custom fields.
If you want to import a list that contains fields that do not exist by default in PUBLITRAC, you must create the necessary custom fields before you import the list.
Create a custom field
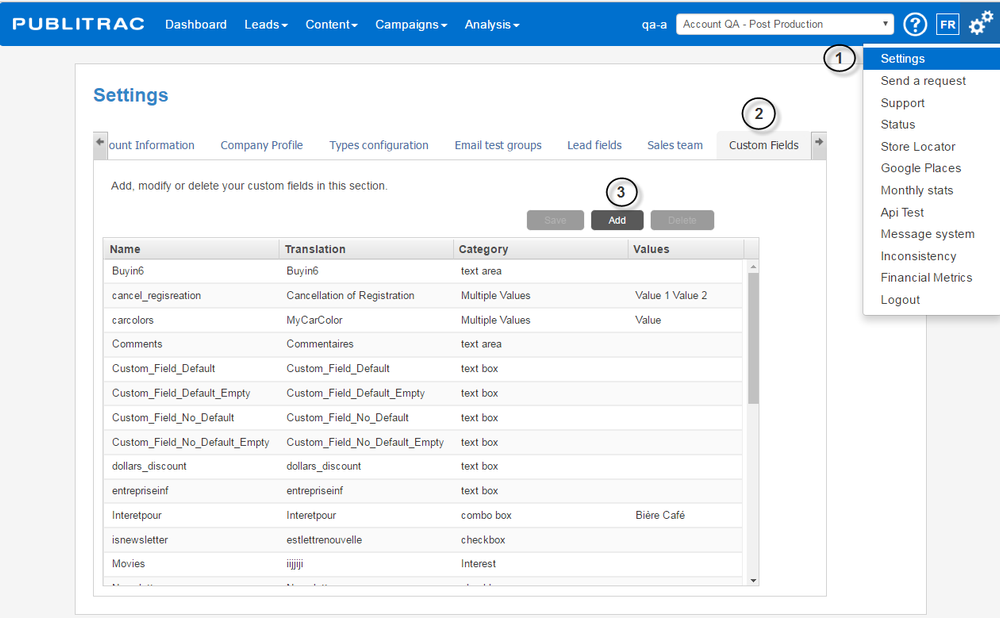
1. Click on the icon (top right corner of the screen), and then click Settings.
2. Select the Custom Fields tab.
3. Click Add.
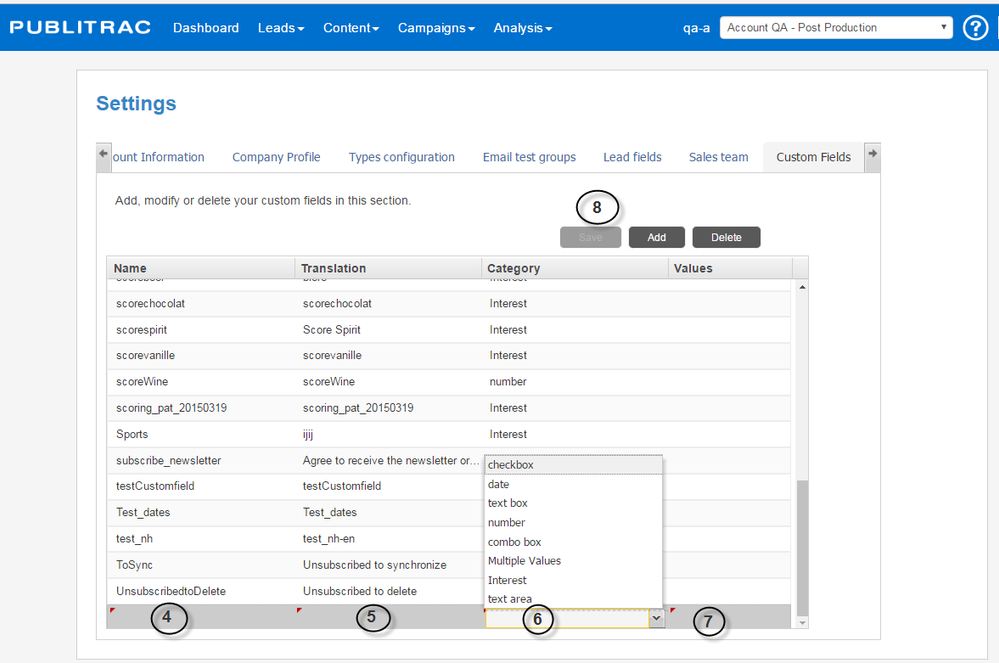
The screen below appears.
4. Specify the Name of the custom field, do not insert a space between the words.
5. In the Translation field, type the name as you want it to appear in the Lead Details page (spaces allowed).
6. In the Category field, specify the type of field (checkbox, a numerical field, a text field, a drop-down list, multiple values, an interest (numerical value) or a multi-line text).
7. In the Values, enter the value of the field that will be displayed by default. If you do not wish to specify a default value, leave this field empty.
8. Click Save.
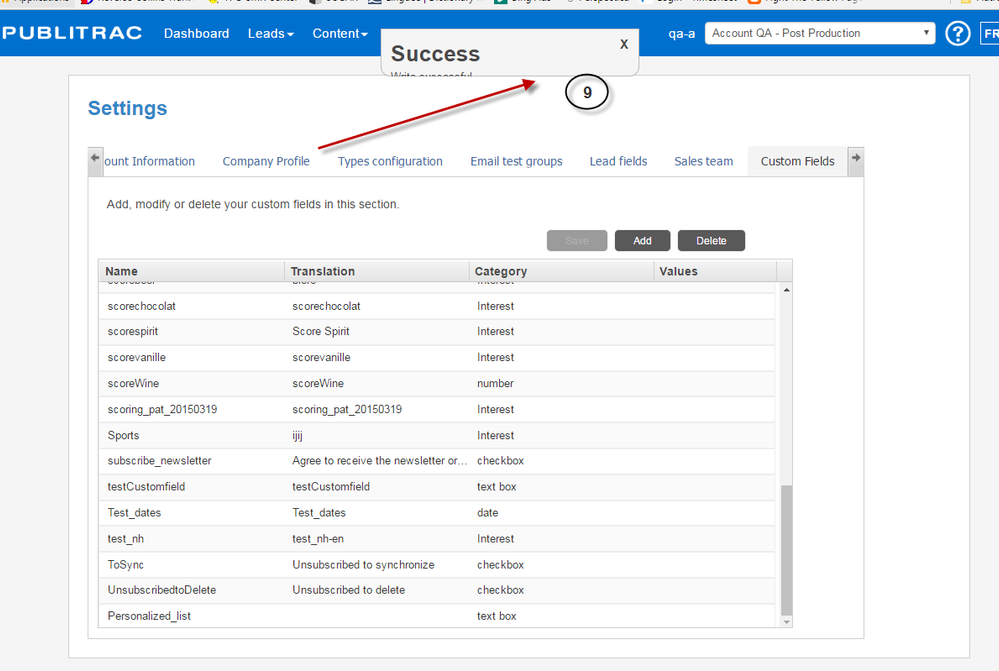
9. A confirmation message will appear if the new field has been successfully saved.
Insert a French custom field
1. Change the language in PUBLITRAC to French (FR)
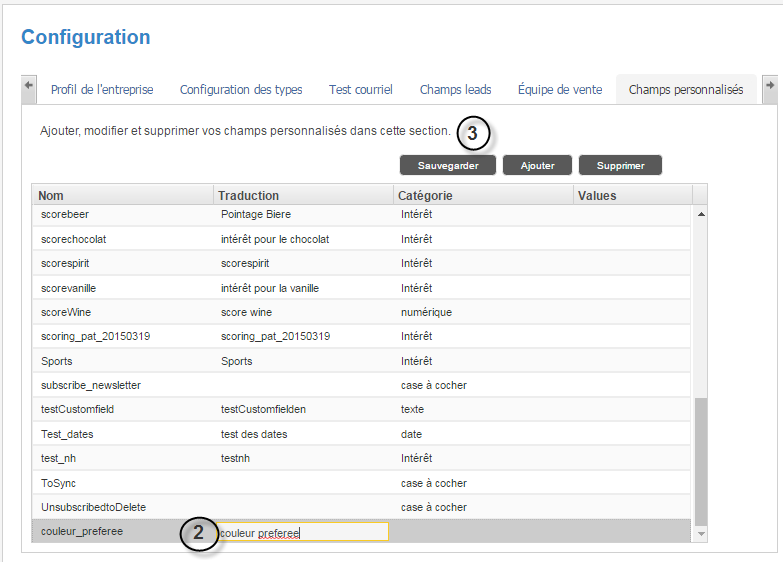
The screen below appears.
2. Insert the French word. The Traduction field will be displayed.
3. Click Save.
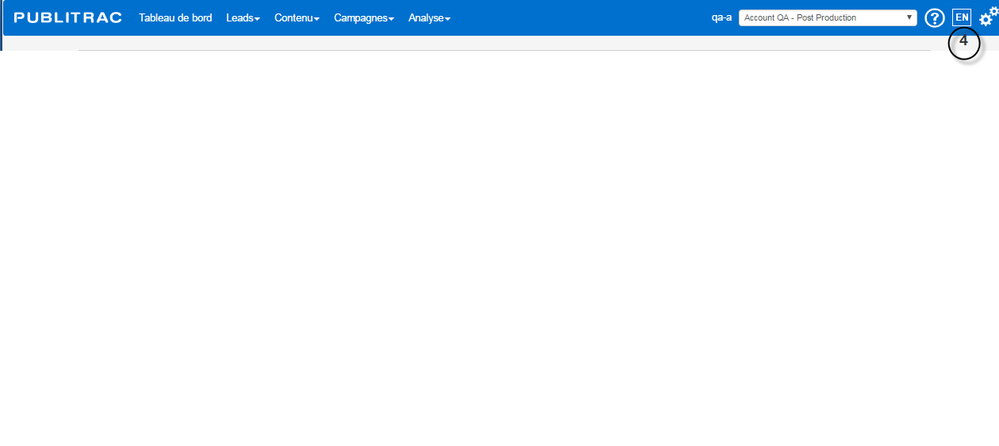
4. Return to the English screen by clicking on EN.
